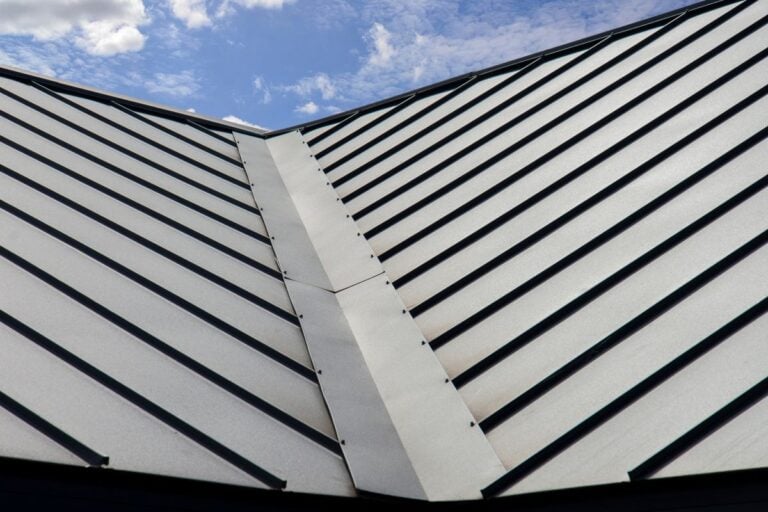
Rubber Roof Repair (Tools, Maintenance & More)
Rubber roofs are a durable and low-maintenance option for homeowners, but like any roofing material, they may require occasional repairs and upkeep to extend their lifespan. Whether you’re dealing with minor leaks or want to prevent future issues, understanding how to maintain and repair your rubber roof is key to protecting your home and investment.
This guide will cover everything you need to know about rubber roof repair, including:
- The essential tools for rubber roof repair
- Step-by-step techniques for patching leaks and damage
- Top rubber roof maintenance tips
👉 The Essential Tools for Rubber Roof Repair

Before you begin, it’s important to ensure you have the right tools for the job. Having proper equipment makes repairs more efficient and increases the likelihood of successful, lasting results. Here’s what you’ll need:
Must-Have Tools:
- Rubber Roofing Patch Kit: Comes with adhesive, rubber patches, and instructions for small repairs.
- Cleaning Supplies: Use mild soap, a sponge, and a bucket of water to clean the area before repairs.
- Seam Roller: Ensures firm adhesion of the patch to avoid future leaks.
- Utility Knife: Helps cut smooth edges on rubber patches.
- Caulk Gun and Roof Sealant: For sealing gaps or cracks around vents and edges.
- Heat Gun (Optional): Helps soften and adhere tougher sections of rubber.
🛠️ Rubber Roof Maintenance Tips to Prevent Repairs

Proper maintenance can extend the lifespan of your rubber roof and reduce the need for repairs. Here are six practical tips:
1. Keep It Clean
Maintaining a clean roof is essential for the longevity of your rubber roof. Leaves, sticks, dirt, and other debris can trap moisture, which can lead to mold growth, water damage, and even structural issues over time. Make it a habit to clear off your roof regularly, especially after storms or during the fall when leaves accumulate quickly. Use a soft broom or leaf blower to avoid damaging the roof material. A clean roof not only looks better but also ensures it stays in good condition for years to come.
2. Inspect Regularly
A quick visual check of your rubber roof twice a year can save you from costly repairs down the line. Look for cracks, punctures, or signs of wear and tear, especially around vulnerable areas like vents, seams, and flashing. These spots are common trouble areas where damage occurs. Inspections should also be done after severe weather events, such as heavy storms or hail, to catch any potential problems early. Staying proactive with inspections will allow you to address issues before they escalate.
3. Address Damage Quickly
Even the smallest tear or puncture in a rubber roof can quickly grow into a larger, more expensive problem if left untreated. If you notice any damage during an inspection, take action immediately. Use a patch kit specifically designed for rubber roofing, or consult a professional if the damage seems extensive. Ignoring minor issues can result in leaks, structural damage, or the need for a full roof replacement, so timely repairs are key to protecting your investment.
4. Prevent Pooling Water
Pooling water, also known as “ponding,” is one of the biggest threats to rubber roofs. Over time, standing water can weaken the roof material, degrade seams, and create leaks. Ensure your roof has the proper slope to allow water to drain effectively. Regularly check and clear your roof’s drainage system, including gutters and downspouts, to keep water flowing freely. If pooling water becomes a recurring issue, consult a roofing professional to assess and adjust the roof’s slope.
5. Shield Against UV Damage
Rubber roofs are durable, but prolonged exposure to harsh sunlight can cause the material to break down over time. UV rays can lead to cracks, brittleness, and discoloration, which compromise the roof’s effectiveness. Applying a UV-protectant coating can help shield your roof from the damaging effects of the sun. These coatings not only improve durability but also reflect sunlight, which can keep your building cooler and lower energy costs. Reapply the UV coating as recommended by the manufacturer for maximum protection.
6. Hire Professionals for Inspections
While regular DIY inspections are important, professional inspections by experts like Embry’s Roofing can provide a more thorough assessment. Professionals have the tools, experience, and knowledge to spot potential problems that might go unnoticed by the untrained eye. Schedule inspections at least once a year to ensure your roof stays in optimal condition. Roofing companies can also recommend maintenance tips and provide solutions before small issues turn into major repairs, saving you time and money in the long run.
⭐️ Common Rubber Roof Repairs and How to Fix Them

Rubber roof issues range from small cracks to larger punctures. Here’s a breakdown of common problems and straightforward solutions:
1. Fixing Minor Leaks or Cracks
The most common problem with rubber roofs is the development of small cracks or leaks, often caused by weathering or prolonged exposure to UV rays. Over time, these can compromise the integrity of your roof if left unaddressed. To repair minor leaks or cracks, start by thoroughly cleaning the damaged area using soap and water. Scrub gently to remove any dirt, debris, or residue, and then allow the area to dry completely. Once the area is clean and dry, use a caulk gun to apply a high-quality roof sealant directly into the crack. Ensure that the sealant is evenly distributed across the damaged area. After applying the sealant, use a roller or a spatula to smooth it out, ensuring it fills the crack completely and creates a uniform surface. Allow the sealant to cure and dry for at least 24 hours before exposing the area to any further stress or moisture.
2. Patching Holes or Tears
When dealing with larger holes or tears in your rubber roof, a more comprehensive repair process is required. Start by cleaning the damaged area thoroughly to remove dirt, debris, and any loose material. Make sure the area is completely dry before proceeding to the next step. Next, cut a patch from a piece of rubber roofing material that is approximately 2 inches larger on all sides than the damaged section. This ensures that the patch fully covers the hole or tear while providing extra reinforcement around the edges. Apply a generous amount of rubber adhesive to both the damaged area of the roof and the underside of the patch. Spread the adhesive evenly for a strong bond. Once the adhesive is in place, press the patch firmly onto the damaged area, ensuring that it adheres securely. Use a seam roller to press out any air bubbles and create a smooth, tight seal. Allow the adhesive to set according to the product’s instructions, ensuring the patch is fully bonded before exposing it to weather conditions.
3. Repairing Poor Seams
Over time, the seams where different sections of rubber roofing meet can loosen or deteriorate, leading to potential leaks and structural weakness. To reinforce these seams and restore their durability, begin by cleaning the seam area thoroughly. Use a specialized cleaner or a simple mixture of soap and water to remove any dirt, grease, or other residue that may interfere with the adhesive bond. Once the seam is clean and dry, apply a roofing adhesive along the length of the seam using a brush or applicator. Be sure to cover the entire seam evenly to ensure a secure bond. After applying the adhesive, press the edges of the rubber sections firmly together. Use a seam roller to apply even pressure along the seam, eliminating any air pockets and ensuring a tight seal. Allow the adhesive to cure fully before exposing the seam to water or stress, ensuring that the repair is durable and long-lasting.
🏡 Rubber Roofing
When it comes to rubber roof repair, Embry’s Roofing is the team you can trust to deliver exceptional results. With over 45 years of experience, expert knowledge, and a commitment to customer satisfaction, we ensure your roofing needs are met with precision and care. Our fast turnarounds, honest estimates, and 5-star service set us apart, giving you peace of mind that your home is in the best hands.
Don’t let roofing issues linger—contact Embry’s Roofing today to schedule your free inspection and protect your home for years to come!
CHECK OUT THE LATEST
FROM OUR BLOG