


Commercial Roof Leak Repair (7 Methods That Stop It For Good)
Is your commercial property dealing with an active roof leak right now? Start with the emergency containment steps below. If you are researching repair options ahead of a known issue, skip to the root cause and repair method sections. This guide is structured to serve both situations because commercial roof leak repair is rarely one-size-fits-all. The right method depends on your roof type, the source of the leak, and whether you need a temporary fix while waiting for a permanent repair or a lasting solution installed in a single visit.
This guide covers:
- Emergency containment: protecting your building while help is on the way
- Root causes by roof type: TPO, EPDM, flashing, drains, and more
- Temporary vs. permanent repair options with cost and timeline context
- 7 repair methods that stop leaks for good
- Preventive steps to avoid future leaks
Emergency Containment: What To Do Right Now
If your commercial roof is actively leaking, every minute of delay increases the scope of interior damage. Before a contractor arrives, these steps limit the damage to your building, inventory, and operations.
Step 1: Contain the Water
Place buckets or containers directly under drip points. If the leak is large or spreading, use plastic sheeting or tarps to redirect water away from equipment, product, and flooring. Moving even a few feet of coverage can prevent thousands of dollars in secondary damage.
Step 2: Protect Assets and Personnel
Move electronics, inventory, documents, and equipment out of the affected area immediately. Mark wet flooring with cones or tape to prevent slip-and-fall incidents. Notify building occupants and restrict access to areas where ceiling tiles may be waterlogged and at risk of collapse.
Step 3: Relieve Ceiling Pressure
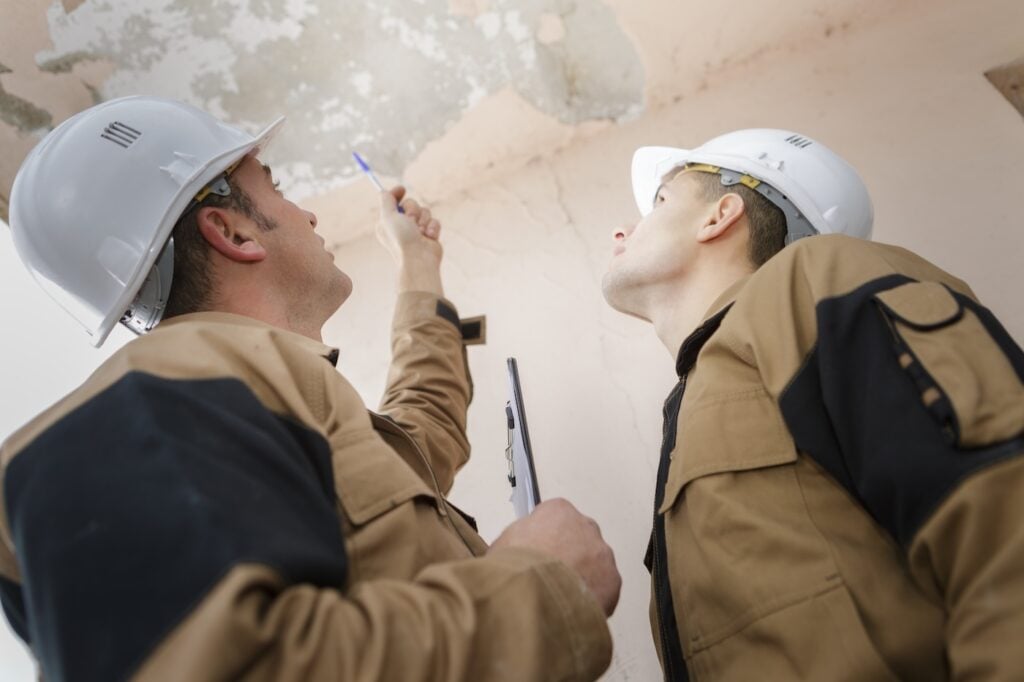
If ceiling tiles or drywall are visibly sagging or bulging, puncture them at the lowest point with a screwdriver or similar tool. Allowing water to drain in a controlled stream prevents the ceiling panel from collapsing suddenly under accumulated weight.
Step 4: Document Everything
Photograph all visible damage, including ceiling stains, drip points, pooling water, and affected inventory, with timestamps before any cleanup begins. This documentation is critical for insurance claims and supports the scope of any damage assessment.
Step 5: Call for Emergency Repair
Contact a commercial roofing contractor with emergency response capability. Embry’s provides emergency tarping and same-day response for active leaks across the Tri-State area. Contact Embry’s Roofing immediately if your building has an active leak.
Root Causes by Roof Type
Diagnosing a commercial roof leak correctly before beginning repair is the single most important factor in whether the repair lasts. Water enters at one point and travels along the deck before showing up inside. The visible drip is rarely directly below the source. Here is how leak root causes differ by roof system.
TPO Seam Failure
TPO roofing systems rely on heat-welded seams to create a continuous waterproof bond. Seam failures occur when welds develop voids during installation, when thermal cycling stresses T-joints over time, or when the membrane shrinks slightly and pulls seam adhesion below the minimum bond width. A TPO roof leak from seam failure will typically show up near a seam line or T-joint, with the water traveling along the deck before dripping at a low point.
- Diagnostic indicator: Visible seam separation or void when probed with a blunt tool; no corresponding penetration or flashing failure nearby.
- Repair approach: Re-welding with a hot-air welder or applying seam tape, depending on the extent of the failure.
EPDM Adhesive and Shrinkage Failure
EPDM relies on adhesive bonding at seams and terminations rather than heat welding. Over time, adhesive degrades from UV exposure and thermal cycling, causing lap seams to lift. EPDM also shrinks slightly as it ages, which pulls termination edges away from walls and flashings. Shrinkage-driven leaks are common at parapet walls and around HVAC curbs on older EPDM systems.
- Diagnostic indicator: Lifted seam edges or gaps at wall terminations, often without visible surface damage to the membrane field.
- Repair approach: Cleaning and re-bonding lifted seams with compatible EPDM adhesive or applying seam tape; replacing termination bars at walls.
Flashing Separation
Flashing at HVAC curbs, pipe boots, parapet walls, and skylights is the most common single source of commercial roof leaks across all membrane types. Metal flashings crack at sealant lines; membrane flashings delaminate from the vertical surface; pitch pockets dry out and crack around conduit and pipe penetrations. Flashing leaks are particularly deceptive because water enters at a wall or penetration and travels horizontally before dripping.
- Diagnostic indicator: Leak appears at or near a wall, curb, or penetration; no seam separation visible in the membrane field nearby.
- Repair approach: Cleaning and resealing minor separations; replacing metal flashing or membrane flashing at the full penetration perimeter for significant failures.
Drain Blockage and Ponding
Clogged internal drains, scuppers, and gutters allow water to accumulate on the roof surface well beyond what the membrane was designed to handle. Chronic ponding accelerates membrane deterioration, adds structural load to the deck, and eventually forces water through any gap, crack, or low-point seam. The leak appears to come from the membrane field but the root cause is drainage failure.
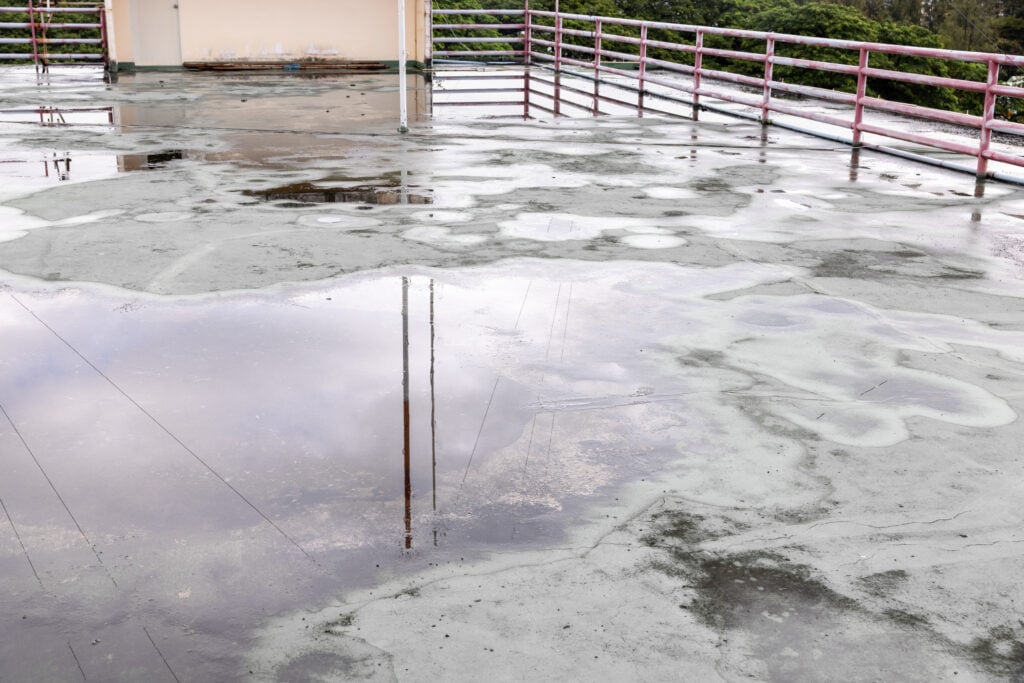
- Diagnostic indicator: Visible ponding 48 or more hours after rain; slow-moving or completely blocked drain.
- Repair approach: Clearing drain debris and inspecting drain ring hardware; addressing any surface depression with tapered insulation if the slope to drain is inadequate.
Membrane Puncture from Impact or Traffic
Foot traffic, rooftop equipment installation, and hail can all puncture the membrane surface. Punctures are straightforward to diagnose visually but may be small enough to miss without a systematic roof walk. On TPO and PVC roofs, impact damage often shows as a small circular depression with a pinhole at center.
- Diagnostic indicator: Visible puncture or impact mark in the membrane field, often near HVAC equipment, roof hatches, or in areas of regular foot traffic.
- Repair approach: Heat-welded membrane patch on TPO and PVC; adhesive patch on EPDM; patch must extend at least six inches beyond the damaged area in all directions.
Temporary vs. Permanent Repair: What You Need To Know Before Approving Work
Commercial property managers are often asked to approve work before they fully understand whether they are authorizing a temporary fix or a lasting repair. Here is the practical distinction.

Temporary Repairs
Temporary repairs are appropriate when weather conditions prevent permanent work, when the permanent repair requires materials that are not immediately available, or when the scope of damage needs further assessment before a full repair plan is developed. Common temporary measures include:
- Emergency tarping over the affected area: Cost $200 to $600 depending on roof size and access. Timeline: same day. Lifespan: weeks to months depending on tarp quality and conditions.
- Roof cement or temporary sealant over a puncture or seam gap: Cost $100 to $300. Timeline: hours. Lifespan: one to three months in Tri-State weather conditions.
Temporary repairs do not restore the waterproofing system. They buy time and prevent additional interior damage while the permanent repair is planned and scheduled.
Permanent Repairs
Permanent repairs address the root cause with materials and methods that match the original roofing system specification. They carry workmanship and material warranties and restore the roof to its pre-failure condition. Most isolated commercial leak repairs can be completed in one to two days once materials are on site. For a full overview of commercial roof repair types, timelines, and cost ranges, our repair guide covers every common scenario.
For anything beyond a minor temporary patch, permanent repair by a qualified commercial contractor is the appropriate standard. The cost differential between a temporary patch and a proper permanent repair is rarely significant enough to justify the ongoing leak risk.
7 Methods That Stop Commercial Roof Leaks For Good
Fixing a commercial roof leak takes a systematic approach matched to the specific failure mode and roof system. Here are the seven most effective permanent repair methods for commercial flat and low-slope roofs.
1. Heat-Welded Membrane Patch (TPO and PVC)
A membrane patch cut from compatible material is heat-welded over the damaged area using a hot-air welder at the correct temperature profile for the membrane. The result is a bond stronger than the surrounding membrane field. This is the correct permanent repair for punctures, impact damage, and small tears on TPO and PVC systems.
- Cost: $150 to $500 per repair.
- Timeline: Two to four hours including surface preparation.
- Warranty: Typically covered under contractor workmanship warranty.
2. Seam Re-Welding or Seam Tape (TPO and PVC)
Failed or voided seams on TPO and PVC systems are repaired by cleaning the seam area, grinding out any contamination, and re-welding with a hot-air welder. Where re-welding is not possible due to access or contamination, manufacturer-approved seam tape provides a pressure-sensitive alternative with documented performance data.
- Cost: $200 to $800 per seam repair.
- Timeline: Half day to full day depending on seam length and access.
3. EPDM Seam Re-Bonding or Lap Tape
Failed EPDM lap seams are repaired by cleaning both bonding surfaces with EPDM primer, applying fresh seam adhesive, and pressing firmly to achieve full contact. EPDM lap tape is an alternative where liquid adhesive is impractical. Termination bars at walls are re-fastened and re-sealed with compatible caulk.
- Cost: $200 to $600 per seam repair.
- Timeline: Same-day for most isolated seam repairs.
4. Flashing Replacement
Flashing at curbs, pipe boots, wall terminations, and skylights is removed and replaced with new material installed to manufacturer specification. This is the appropriate repair when existing flashing is corroded, displaced, or has failed at multiple points rather than a single sealant crack.
- Cost: $200 to $1,500 per penetration or wall section depending on flashing type and extent.
- Timeline: One to two days for a full HVAC curb or parapet wall section.
5. Drain Repair or Replacement
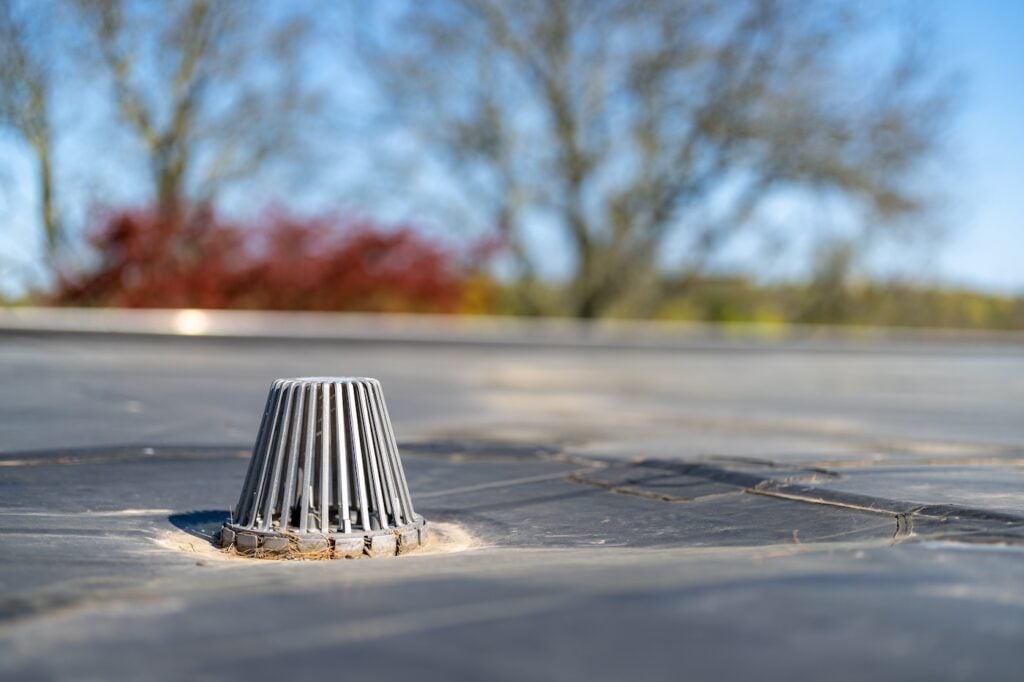
Drain ring hardware, clamping rings, and drain body components are replaced when damaged. Surrounding membrane is removed and re-lapped to the new drain collar and welded or bonded to create a watertight transition. Tapered insulation is added around drain areas where ponding indicates inadequate slope.
- Cost: $300 to $800 per drain.
- Timeline: Half day per drain.
6. Roof Coating Application
On roofs that are structurally sound and dry but showing surface deterioration, a silicone, acrylic, or polyurethane coating applied at the correct mil thickness seals minor surface cracks and creates a continuous waterproof layer that extends system life. Coatings are not appropriate over wet insulation or failed seams, but on properly prepared substrates they provide 10 to 15 years of additional service.
- Cost: $2 to $5 per square foot for the full roof surface.
- Timeline: Two to four days for a complete coating application including drying time.
7. Full Section or System Replacement
When damage is distributed across a large portion of the roof rather than isolated, or when the membrane has reached end of life, replacing the affected section or the full system with a new warranted membrane is the only repair that provides lasting protection. This is the permanent solution for roofs that have been repeatedly patched and continue to fail.
- Cost: Varies by system and size; see our commercial roof leak repair overview for regional cost context.
- Timeline: One to two weeks for a full membrane replacement on a mid-size commercial building.
Roof Leak Repair Cost Summary
| Method | Typical Cost | Timeline | Best Application |
| Heat-welded membrane patch | $150 to $500 | 2 to 4 hours | TPO/PVC punctures and tears |
| Seam re-welding or tape | $200 to $800 | Half to full day | TPO/PVC seam failure |
| EPDM seam re-bonding | $200 to $600 | Same day | EPDM adhesive failure |
| Flashing replacement | $200 to $1,500 | 1 to 2 days | Penetration or wall transition |
| Drain repair or replacement | $300 to $800 | Half day | Drain failure or ponding |
| Roof coating | $2 to $5/sq ft | 2 to 4 days | Aging but sound membrane |
| Full section replacement | Varies | 1 to 2 weeks | Widespread or end-of-life failure |
Preventive Measures to Avoid Future Leaks
Reactive repair costs more than proactive maintenance every time. These measures reduce leak frequency and protect your repair investment.
- Biannual inspections: Schedule professional inspections in spring and fall to catch seam voids, flashing deterioration, and drain blockages before they become active leaks.
- Post-storm assessments: After any significant hail, wind, or storm event, have the roof walked by a professional regardless of whether interior damage is visible.
- Control rooftop traffic: Limit access to designated walkways and use protective walkway pads near HVAC equipment to reduce membrane puncture risk.
- Keep drains clear: Assign maintenance staff to inspect and clear roof drains monthly, particularly during fall leaf season.
- Document all repairs: Maintain a repair log with dates, locations, and materials used. This history supports insurance claims and helps identify recurring failure patterns.

Stop the Leak With Embry’s Roofing
Whether you are dealing with an active leak right now or planning a repair after a recent inspection, Embry’s brings the same HAAG certified expertise and documented repair process to every commercial project. We’re proud to serve commercial property owners across the Tri-State area including Louisville, KY with emergency response, professional inspections, and repair work backed by our 5-year workmanship warranty. Family-run since 1979 and backed by over 45 years of experience, our team gives you a clear diagnosis and a documented plan before any work begins. Contact Embry’s Roofing today for a free commercial roof inspection.
CHECK OUT THE LATEST
FROM OUR BLOG