Thoughtful Roofing Services for Your Home
Whether you need a full roof replacement or minor repairs on your home, take unnecessary stress off your plate and rely on the team with 45+ years of proven experience using the best roofing materials for quality and durability. We are dedicated to providing the best roofing solutions through superior craftsmanship and exceptional customer service. We prioritize communication and will guide you through the process at Every Shingle Turn.
-

25-Year GAF Master Elite Warranty
-
Easy Monthly Financing Options
-
Repair And Replacement Services


Reach out &
get started today


Prompt Service & Quality Results
We know that roofing services are a significant investment. Embry’s offers quick turnaround times, but we always prioritize high-quality, detail-oriented solutions over rushed work, reflecting our deep commitment to the roofing industry. Our roofing specialists provide expert guidance and tailored solutions, ensuring you get the best materials and services for your needs. It’s important to us that you get what you pay for – and with our team, that means long–lasting roofing that keeps you protected for decades.

Hear from our customers
T
Tom Jameson

Robert Embry put the roof on our church, fixed a chimney leak for my grandmother, and put the roof on my father-in-laws home. In all these jobs the work exceeded even my…
M
Mark Grant
Quality Company. Had another inferior roofing company roof our building in April and they ended by "roofing over a flat-roof drain" (scupper). I was unable to find another company until late in…
K
Ken Rogers
Great job and came back to fix our garage door for us.
K
Kathleen Gasper
Always answers phone. Very helpful. Willing to fix something if you don’t like it.
Life-long relationships. High-quality results. Unbeatable warranties. Authentic people with no shortage of dad jokes.
Life-long relationships. High-quality results. Unbeatable warranties. Authentic people with no shortage of dad jokes.
Our Process is seamless
step #1

Reach out
Get in touch with our team by phone or online form, and let us know what you’re looking for.
step #2
INSPECTION
We’ll schedule a free inspection within 24 hours so that you aren’t waiting around.
step #3
report & estimate
We’ll report our findings in an easy-to-digest way and provide an honest price estimate for the project.
step #4

Schedule Work
Work gets scheduled at a convenient time for you. We show up on time and communicate throughout.
step #5

Quality Assurance
When all is said and done, our team and the manufacturer provide a quality inspection to ensure success.
No Job Is Too Big or Too Small
Some contractors won’t even offer repairs because they’re focused on high price tag projects. We know, we can’t believe it either! When you work with Embry’s, you can take heart knowing that our crew prioritizes minor repairs just as much as full-scale roof replacements, including new roof installations. Our comprehensive services are tailored to meet all your residential roofing needs. We’ll find the solution for the problem you’re actually dealing with, and we’ll never try to sell you something you don’t need.

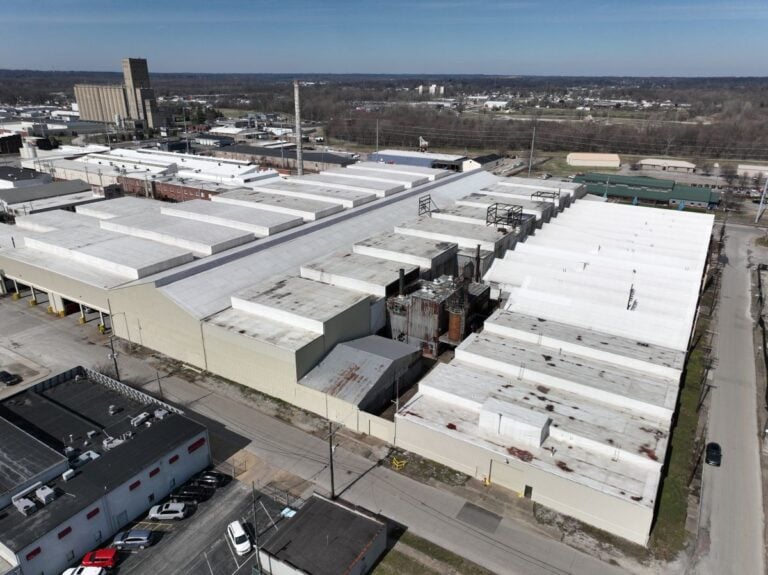
Recent Projects


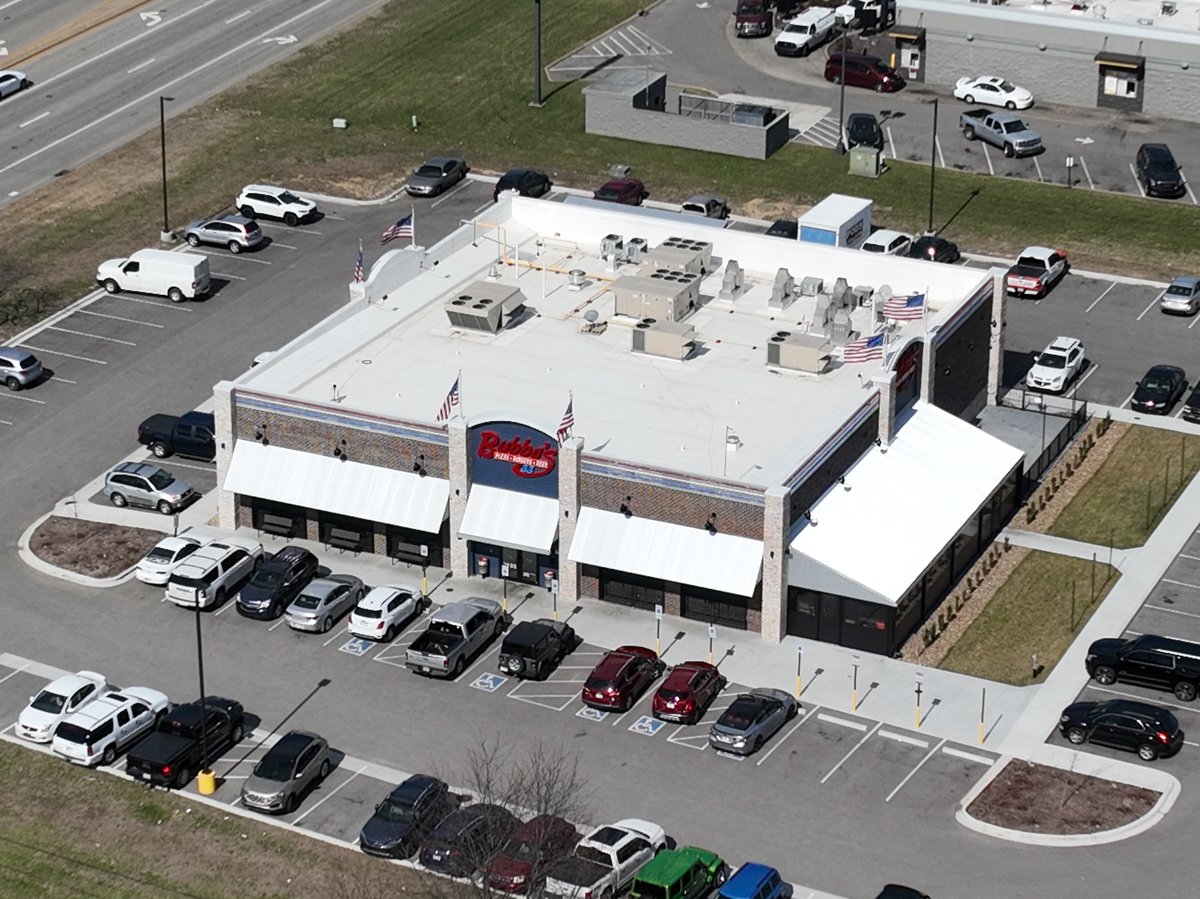
Recent Projects
La Quinta Roof Replacement: A Case Study in Expert Roofing and Storm Damage Restoration
COMPLETED DECEMBER 2024
frequently asked questions
How long will my residential roof replacement take?
Most roof replacements on average-sized homes only take 1-2 days with our expertly-trained team.
Do you offer insurance claim assistance for residential and commercial properties?
Yes, no matter what type of property you own, we can help you navigate your insurance claim.
Do you provide roof repairs?
Yes! We offer roof repairs, replacements, and new installations.
How much will my roofing project cost?
There’s no universal answer to that question, as the scope of the project and the materials play a huge role in the final cost. The best way to get a clear idea of how much your project will cost is to schedule a free inspection and estimate with our team.
Proudly Serving The Tri-State Area
CHECK OUT THE LATEST FROM OUR BLOG